Introduction
Injuries can have both physical and psychological affects regardless of your training level and chosen discipline. For this reason, it is highly important that you undergo thorough examinations to understand the injury, the damage done, and if needed, the cause. That will then allow you to understand how much of the below is going to apply to you for.
Should you train with an injury?
Contrary to popular belief, you are far more capable of training around and with your injury than you’ve been lead to believe. Most are under the impression that once injured, rest is the best medicine which to an extent is true, however movement can be just as effective depending upon the situation.
The question I’d pose is if the knee was injured, why would you stop training everywhere else? There are very few injuries that would put someone completely out of action, so the easiest solution is to assess what you can still do and focus your efforts there. In some cases, you may even be able to train around the injured area by changing the way movements are performed.
Injuries come with a severity and people come with individuality, so it is important to understand that each persons injury is completely different to another’s even if it the same site that has suffered.
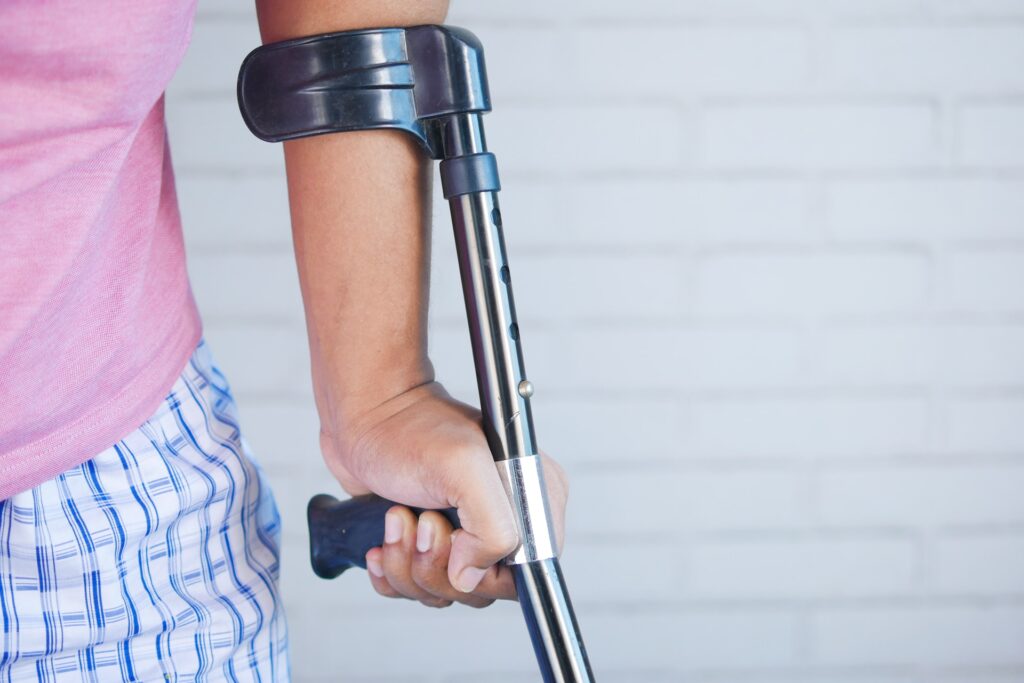
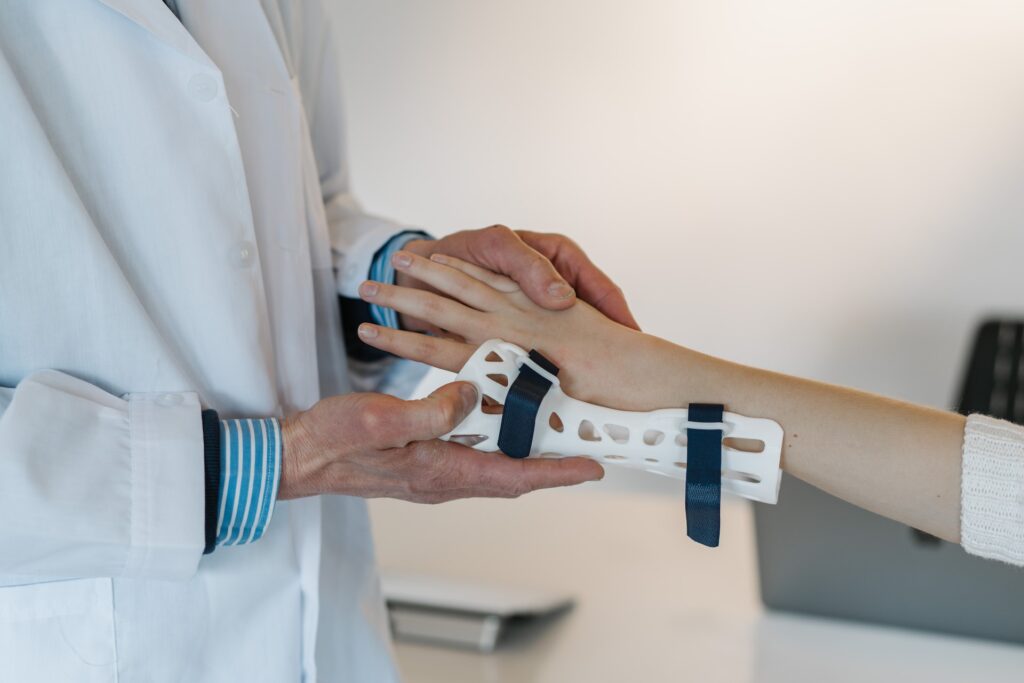
Photo by Towfiqu barbhuiya on Unsplash
What to stop if you have an injury
Stop training the movements that cause aggravation to the affected area. This will cause excess damage to the already injured area and slow down the recovery processes. This can cause further damage to the affected area while also placing you in a compromised state, causing areas around the already afflicted region to also become injured.
Rehabilitation for an injury
Take the time to see a specialist so they can assess the severity and plan out your next steps. Rehabilitation will form the base level strength that will enable you to train the impacted area once the healing is complete. If rehab is avoided during the healing process, then your return from injury will see the afflicted area suffer with severely reduced levels of strength which will delay your return to pre-injury strength.
Make sure to not rush the rehab process as you may find that it causes backwards steps in the recovery processes, causes additional injuries and in some cases doesn’t allow the connective tissues to regain strength at the same rate as the muscle.
Training around the injury site
Assess the impact the injury has on the surrounding body parts and depending on what the injury is, see if you can train that area but through different joint angles and planes of motion. Often, it may be a specific angle that causes pain/discomfort while other joint angles are pain free and available to work. for example, if pain in the elbow was preventing the lifter from performing lat pull down type movements, then they could swap to a lat pull over variation that doesn’t involve elbow flexion, allowing the lat to be trained. During this time, they can then still have the elbow looked into to understand the problem and how to fix the issue.
Looking at the other muscles that sit around an injured region is key as you will need to know if the injury places a single muscle/movement out of the equation, or all of them. For example, if a lifter has injured the anterior (front) of the shoulder, then vertical and horizontal pressing movements will be off the table, however they may find that pulling motions are completely unaffected which would result in the lifter being able to complete back musculature sessions.
The severity of the injury will also impact the load being used. If the injured site is undergoing a niggle, then lighter loads for higher reps and further away from failure will still allow the area to work while driving blood and nutrition in. This may see improvements in the affected area for very little cost while not having to take time away from training.
It is important to note that areas that do not impact the injured site can be trained at full intensity and with the same volume. For example, an elbow injury would not impact calf training and therefore has no impact on the recovery of the elbow.
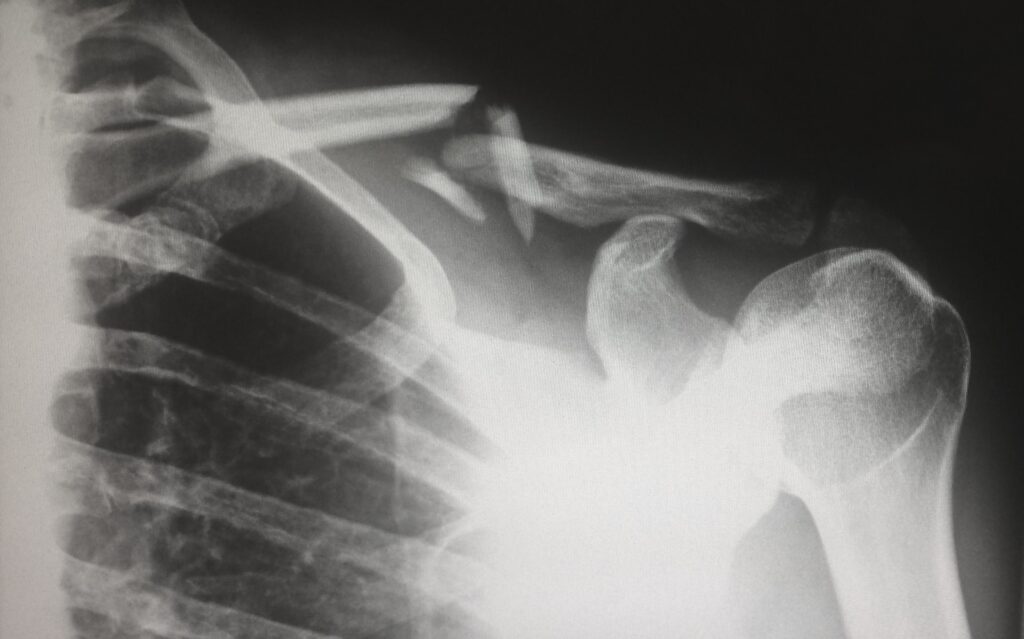
Photo by Harlie Raethel on Unsplash
Training the impacted area
The time frame in which this is able to be done will entirely depend on the injury. When the time comes to introduce training back into the equation, it should start with work that is designed to simply get blood pumping back into the area and start to rebuild the motor pathways that have been lost/inactive.
The main priority should steer towards regaining full range of motion (ROM) with very gradual loading increases. You may opt to go with higher rep schemes as to not cause too much fatigue and prevent large force requirements that the afflicted area may not be able to handle. The idea would be to take the body part to a point where the movement feels effective but not near failure as it may not be ready to handle that level of stimulus. As the weeks progress and as strength rebuilds, the movement can then be taken closer and closer to the within 5 reps of failure bracket. Once comfortable within that range, the lifter can move closer to failure while still regulating how they feel from session to session. Remember that in the recovery phase, not every session will go to plan and progress at the rate you had seen pre-injury, so be sure to go into every set with absolute confidence that the working weight and rep range is manageable.
Control in these movements are essential. You need to make sure that every portion of the rep is under control, including the pauses between the concentric and eccentric portion of the rep. When targeted rep ranges have been hit under complete control, then its time to take the intensity slightly higher in the form of additional load in the lowest possible form.
Return to normal training after injury
At this point, your recovery should be complete. You should now have access to full ROM with control in every aspect of the lift and a good base level of strength to progress from. From here you can now start experimenting with lower rep ranges and higher load with a slow introduction. This for example may see your set of leg presses move from two sets of 8-12 rep to a set of 6-8 followed by an 8-12. Once you have acclimatised to the new rep range, they can be taken closer and closer to failure. Now that full motion has been restored and you are working at a similar intensity to before the injury, you can then base your volume in the region of MEV to MRV which is the minimum effective volume for growth and the maximal recoverable volume of the session.
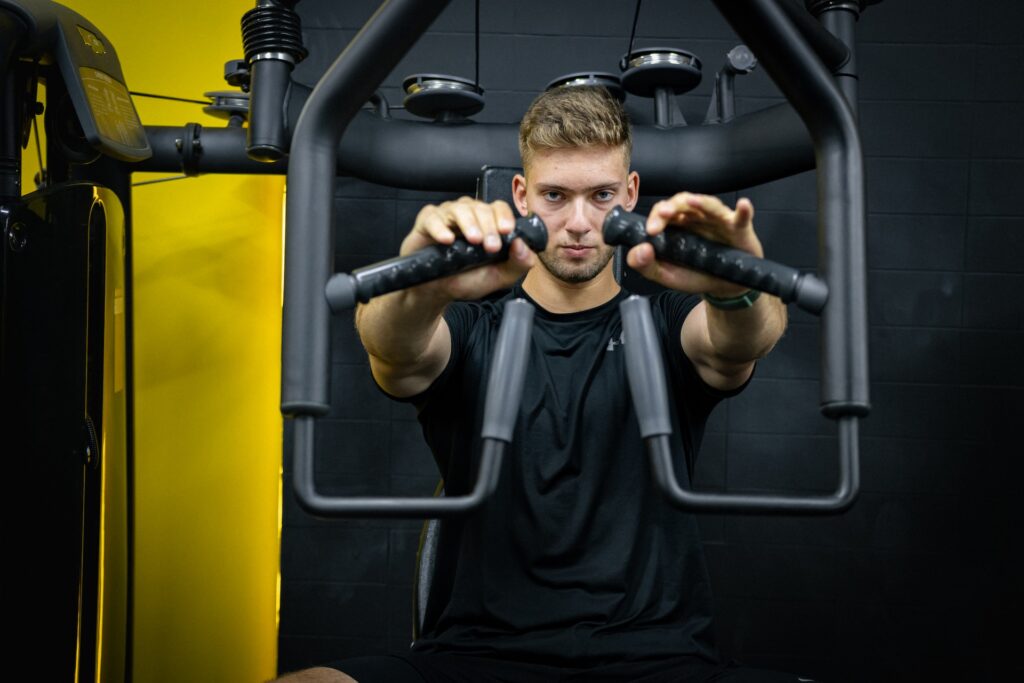
Photo by Shoham Avisrur on Unsplash
Closing thoughts
Your number one priority is to get a proper diagnosis to discover what has happened. Often you can suffer multiple injuries in one and this will dictate your recovery process. Regardless of the injury, the recovery process will usually take longer than expected, involves ups & downs, and may involve more work than previously anticipated. Short cuts in the healing process will only present themselves later down the line, so treat this just as seriously as your regular training.
___
If you want to see more information on training intensity, see my latest Instagram posts at @the_biomechanics_coach. Or, if you are interested in exploring other areas of your training and becoming the best athlete you can be, what about reading my last post on the power of joint alignment.