Introduction
The exercise set up for any movement can dictate how well that lift is performed. Ensuring a good set up can mentally prepare a lifter, especially when performing physically taxing sets and movements. Some lifters may experience what is known as pre-set anxiety, which to many, can cause feelings of self-doubt or dread towards that movement/set. This is where both marking down aspects of your set up, such as foot position and wrist wrap position, can be of great benefit as you ensure everything from week to week is standardised. This can reduce the margin for error and give way to more successful lifts and progressions.
Recovery
Recovery is a massive part of nailing your set up that many don’t consider. The bodily system being fully recovered should always be the first portion of the set up. After all, it is the body moving the weight, not the belt, straps, seat position or sleeves. To ensure sufficient recovery before entering a set, the lifter should ensure the following:
- Heart rate has returned to a lower level – still elevated but not pounding out of the chest
- Central nervous system has sufficiently recovered – the shaky/trembling sensation should be gone
- They have a positive mentality – the person should now look at the weight and feel they can at least hit the minimum rep target
- There is sufficient synergist muscle recovery – it’s not just about the primary muscle. Do the muscles that assist in the movement also feel they have recovered?
Internal factors
There are other aspects to your set up that aren’t as easy as marking a foot position. Some of these factors are more unique to an individual and could be considered as ritual and acts of habit. Great examples of this may include:
- Self-talk/affirmations
- Listening to music
- The physical approach to the machine/weight
- Physical and mental rehearsal of the movement
- Superstitions
Many athletes use these components to ensure they feel both mentally and physically ready to perform that set, as in many cases, mentality going into a set can pre-determined the result. Those that go into their working set either stating or believing they won’t hit the lift are often proved right with the resulting outcome. This is because the lifter has subconsciously turned their doubt into reality.
External factors
As previously hinted at, there are a variety of pieces of equipment that can assist with certain movements. They can be used for biofeedback, to prevent the fatigue of smaller muscles causing potential for lost reps or even to simply keep joints warm. They enable the execution of the lift to feel unique to you and adapt to your physiology, which in the long term can see greater outcomes. Some examples include:
- Wrist wraps/hooks
- Wrist supports
- Elbow/knee sleeves
- Lifting belts
- Lifting shoes/wedges
- Adjustable bars
- Wrist/ankle cuffs
- Daisy chains/climbing loops
It’s important to know that not everyone ‘fits’ every exercise, and certain adaptations need to be made for a more ergonomic feel or simply to make the exercise safer. This is why specificity and individuality must be considered when programming different movements. In the rest of this article, I will run through some examples of setup considerations for different types of common movements, including rows, squat patterns, presses and hip hinges.
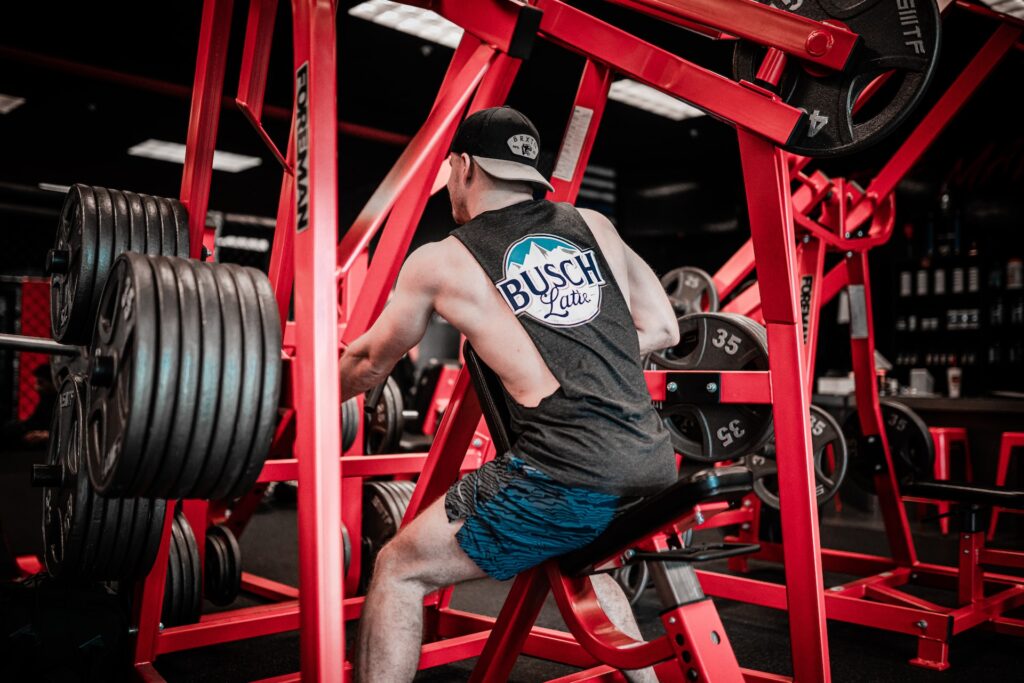
Photo by Ryan Hoffman on Unsplash
Rowing movement set up considerations
Protraction and Retraction – Allowing the shoulder (Glenohumeral) joint to protract and retract through the rowing movement will increase the involvement of the upper back musculature. Keeping the shoulder joint locked can help to bias the lat more, especially when performing bilateral rows, where both arms move together. This locked position, however, is not necessary for unilateral lat-biased rows, where the reps on one side are completed, followed by the other.
Muscle Bias – Rowing from a low to high position will bias the upper back musculature. The lats prefer to work pulling in both a horizontal plane and from a high to low position while tucked close to the torso.
Bracing – If you are using a chest support, remember to actively brace into it. As you row back, the weight will want to pull you forward, so think of the chest support as an anchor.
Arm Path – As you widen your arm path (abduction), the lats will lose leverage, shifting tension into the upper back and rear delts.
Grip Aids – The use of wrist straps/loops can help reduce forearm fatigue through the use of lesser grip requirements. This may help allow you to progressively overload your target muscle without being limited by grip strength.

Photo by Gordon Cowie on Unsplash
Pull down set up considerations
Shoulder Protraction and Retraction – Allowing the shoulder (Glenohumeral) joint to protract and retract while also elevating and depressing the shoulder through the pulldown movement will increase the involvement of the upper back musculature.
Arm Path – As you widen your hand width (abduct your arm path), the lats will gradually lose leverage, shifting tension more into the upper back and rear delts. The lats prefer to work with a tucked arm (adducted), with the emphasis being a backwards and down motion.
Shoulder Movement – To target the lats, the shoulder (Glenohumeral) joint doesn’t have to stay locked In position. This flexibility in the movement also gives the option for a lat-biased pulldown to be performed unilaterally (one side at a time).
Grip Aids – The use of wrist straps/loops can help reduce forearm fatigue through the use of lesser grip requirements. This may help allow you to progressively overload your target muscle without being limited by grip strength.
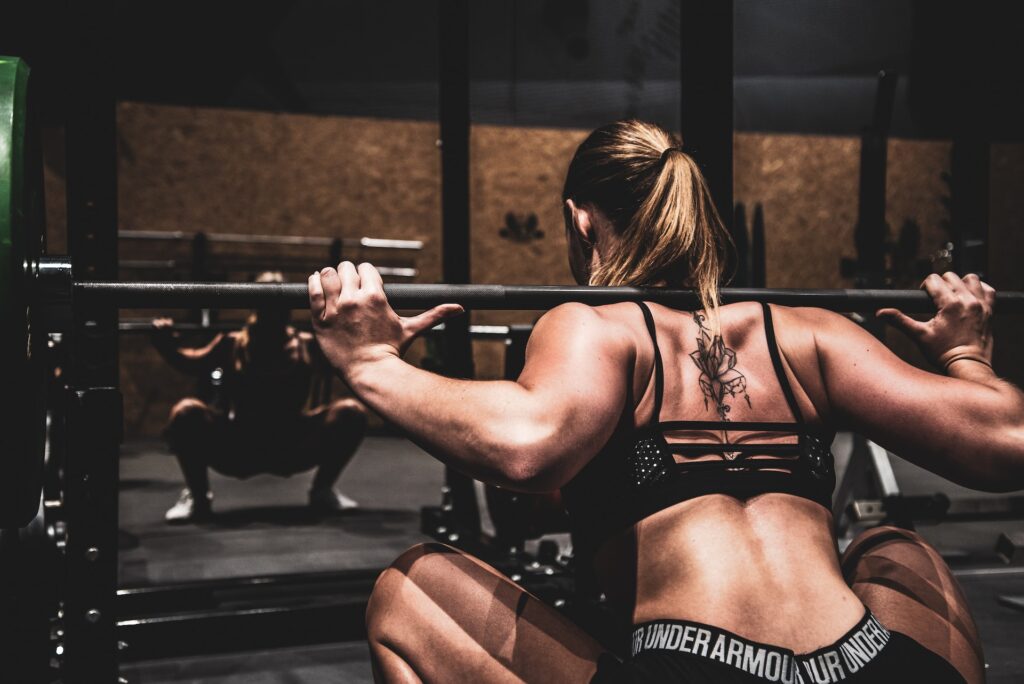
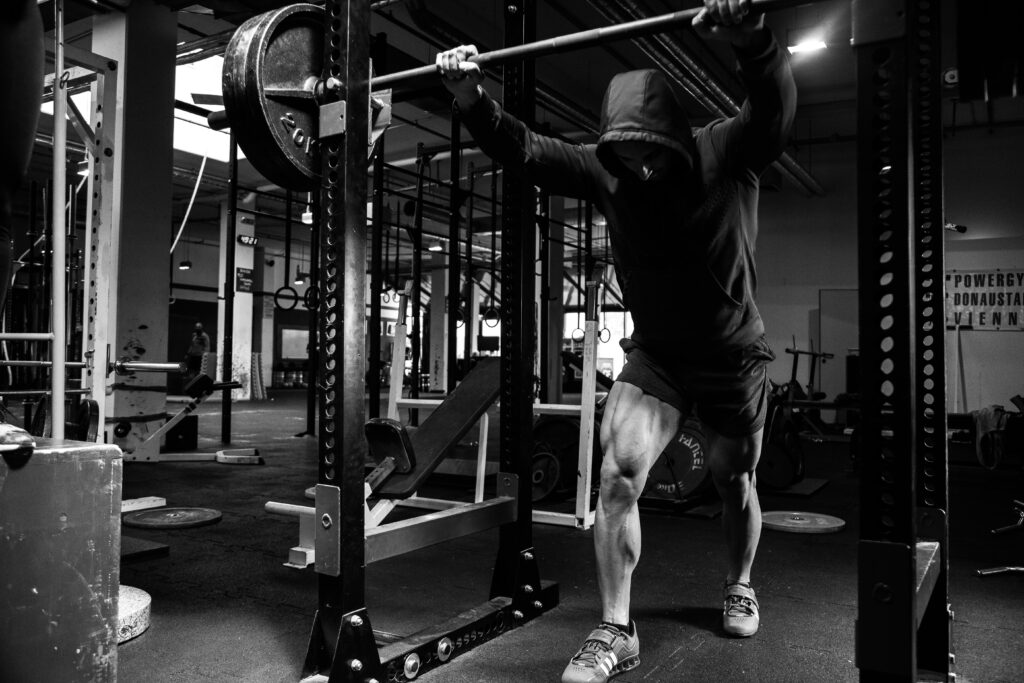
Photo by Sven Mieke on Unsplash
Squat pattern set up considerations
Overall Stance – You are looking to hold yourself in a stance that allows you the greatest range of motion pain-free. It is important to note this position can vary greatly from person to person depending on your specific anatomy, so trying to replicate another athlete’s squat will not necessarily result in the best position for you.
Foot Position – Look for a foot position on the platform/pad that allows for full and even foot pressure. Maintaining three points of contact in your foot – heel, big toe, and little toe – throughout the squat will evenly distribute your weight and prevent your heels from rising (unless specifically prescribed).
Bracing into the Bar/Pads – When ready to squat, ensure the bar/shoulder pads are being pulled firmly into the traps/upper back. For squat machines with a back pad, utilising this will also reduce the amount of core bracing required.
Foot Placement (Machine) – Foot placement on machine squats is key as a lower foot placement will bias the quad, and a higher foot placement will bias the glutes. This is the same principle as front squat biasing the quads and low bar back squat biasing the glutes.
Lifting Belts – Lifting belts can also be used here to give feedback regarding abdominal pressure and spinal integrity.
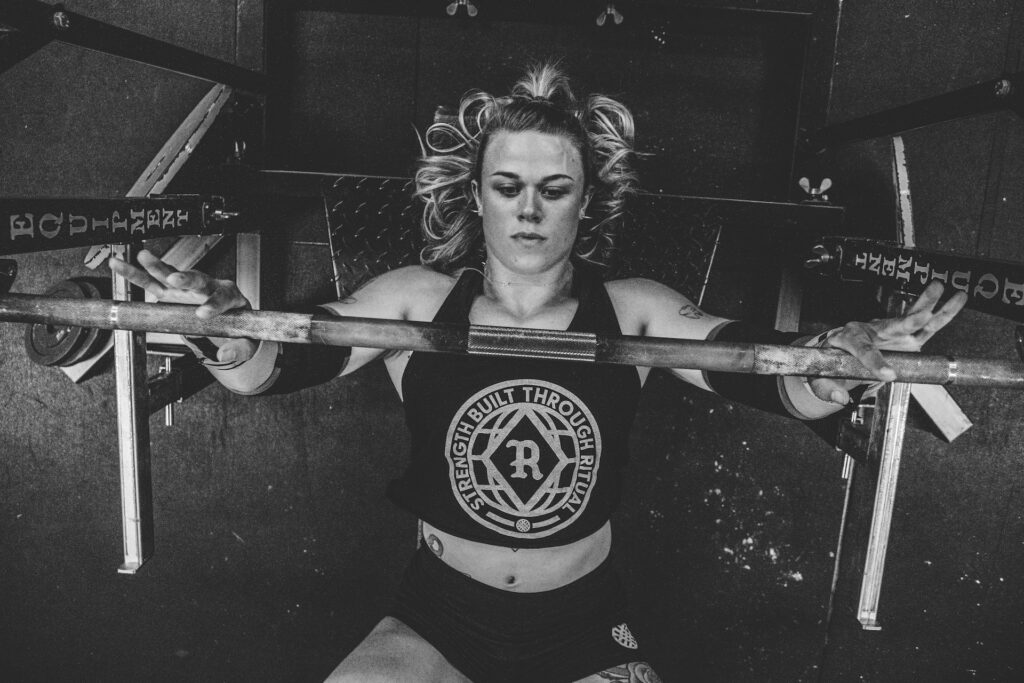
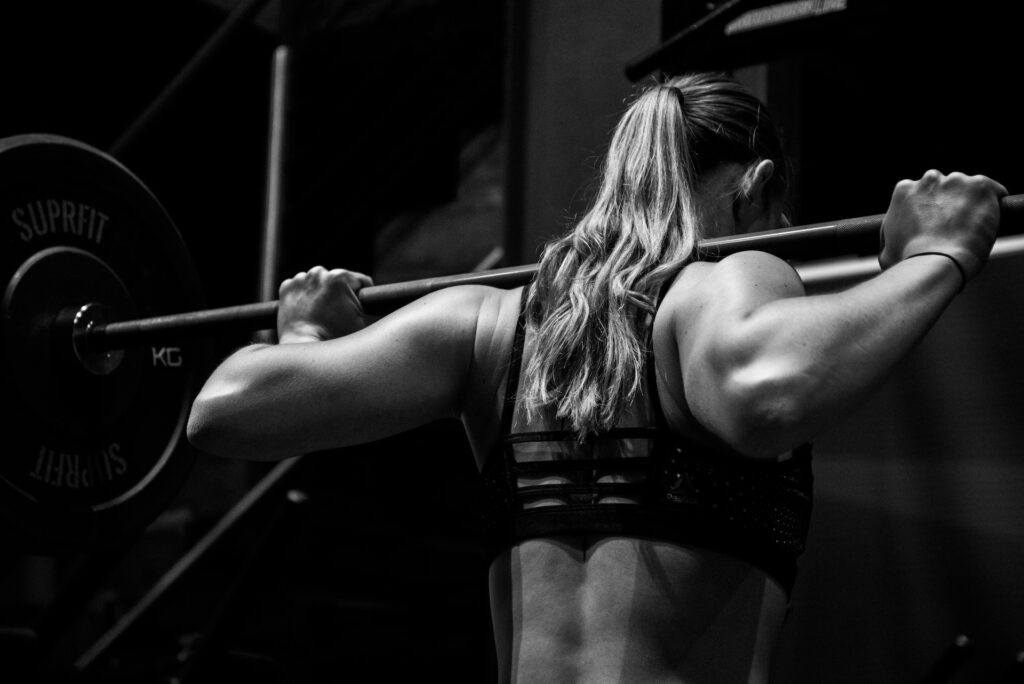
Photo by Alora Griffiths on Unsplash
Horizontal press set up considerations
Angle of Chest – When against the bench, what angle is your chest pointing in? The chest angle is just as important as the arm path when trying to target an area of the chest.
Direction of Machine – If using a machine, what direction does the machine move in? The guided path of motion can also dictate where you feel the tension. It’s also key to note that the machine may only move in a certain plane, so you must conform to this.
Converging or Parallel movement? – Does the exercise converge as you press or move in a parallel path? Cable and dumbbell presses allow the bicep to come across the pecs, whereas barbell presses fix the hands to a specific point, meaning the bicep doesn’t come as far across. Machines vary, with numerous examples of both.
Hand Position – Maintaining an optimal hand position will ensure the wrist joint stays stacked on top of the elbow joint. This is essential whilst pressing as stacking joints gives you the highest degree of safety in the most compromised yet muscle-inducing position.
Retraction and Protraction – Retracted and protracted positions of the shoulder play a big part in the stretch. It’s advisable to either start with the shoulders retracted or allow them to retract during the eccentric (weight moving back to the starting position) portion of the rep to ensure the pecs are fully lengthening as the shoulder joint moves away from the sternum.
Arm Position – Tucked and flared arm positions (adduction and abduction) can also play a large degree in the degree of stretch. A tucked elbow position allows the elbow to travel further back behind the body due to the greater levels of mobility of the shoulder here. One key note, though, is this also places the front delts in a greater leveraged position to work, meaning you may also experience fatigue there.
Use of Wrist Wraps – Wrist wraps can be used to ensure even hand pressure and prevent the dumbbell/handle from excessively flexing the wrist.
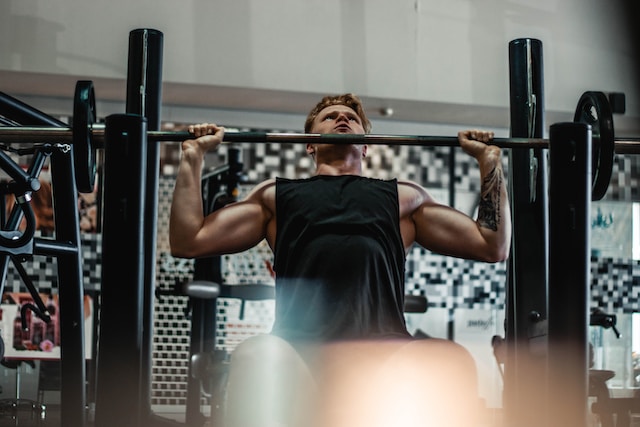
Photo by Arthur Edelmans on Unsplash
Vertical press set up considerations
Degree of Incline – The degree of incline you are sitting at will dictate how much upper pec is involved in the pressing movement. The closer your bench gets to vertical, the lesser the degree of pec activation.
Level of Arching – Your degree of lower back arching will also dictate how much upper pec is involved. Greater arching of the lower back can start to place the pecs into a more favourable position to work.
Angle of Arms – The degree of your scapula plane can dictate which portion of the shoulder is working. Having the arms flared more to the side when pressing overhead will predominantly work the front delts along with the anterior portion of the lateral delt, whereas having the arm in a position tucked closer to the torso will bias the front delt.
Hand Position – Maintaining an optimal hand position will ensure the wrist joint stays stacked on top of the elbow joint. This is essential whilst pressing as stacking joints gives you the highest degree of safety in the most compromised yet muscle inducing position.
Use of Wrist Wraps – Wrist wraps can be used to ensure even hand pressure and prevent the dumbbell/handle from excessively flexing the wrist.
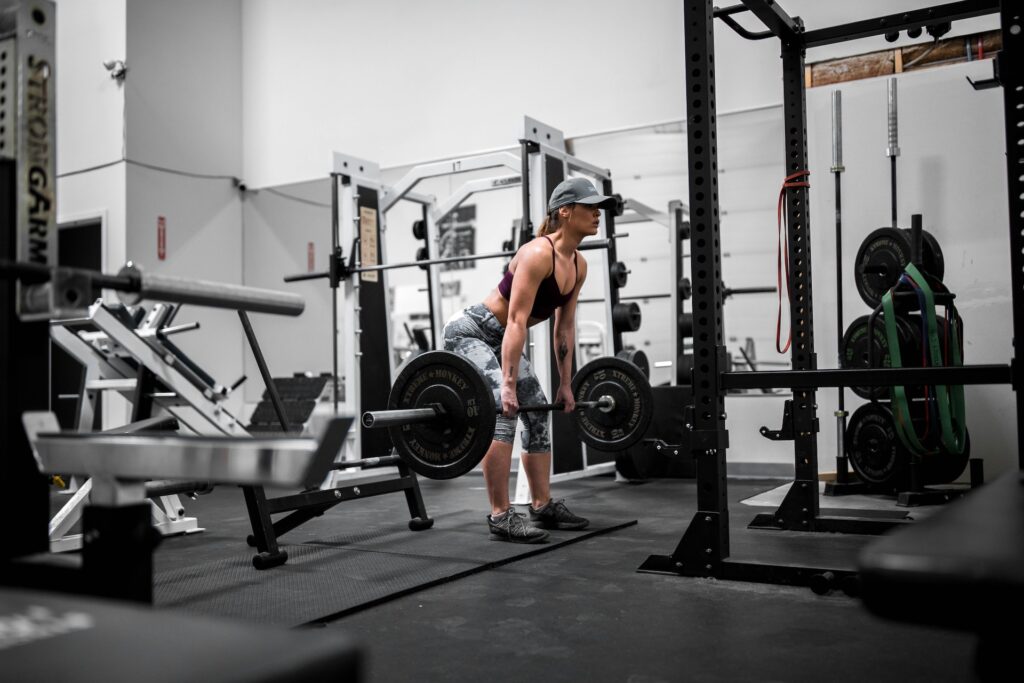
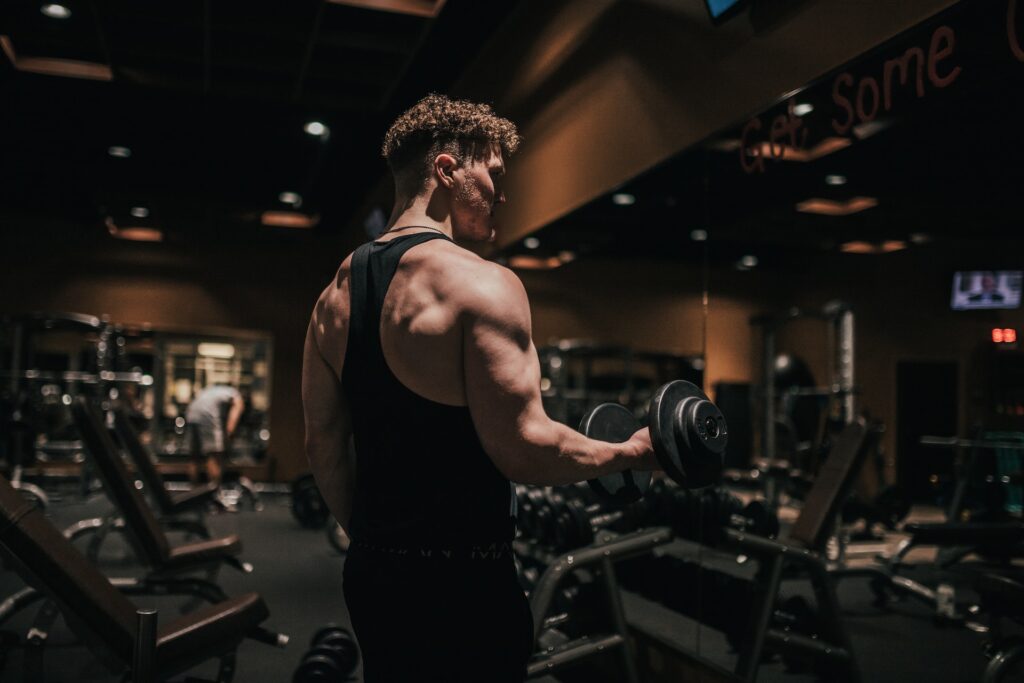
Photo by Anastase Maragos on Unsplash
Hinge set up considerations
Range of Motion – Staying within your active range of motion will help to prevent lumbar erector work and any resulting lower back pain. A common problem is touching the weight to the floor, which in many cases can cause the lower back to kick in when the hamstrings and glutes run out of motion.
Degree of Knee Bend – Your knee bend will dictate what muscle is working. The higher the degree of bend at the knee, the less the hamstring can be recruited to work. When the knees and hips are bent at the same time, the hamstring can’t stretch.
Direction of Travel – Direction of travel can also make a big impact. Having the hips shift back as you hinge down will allow for a greater range of motion of the hamstring and glutes, whereas keeping the hips locked and hinging over forwards will involve less range of motion at the hips.
Foot Position – Foot position should also be considered. When dealing with forces, we can withstand them better with stacked joints, so aiming for a hip-width stance where your joints sit directly below your hips would be best. The knees usually follow the same direction as the foot, so a forward-facing foot would also work well.
Hand Position – Hand position on the bar is also key to prevent back musculature from failing. Hand width needs to be wider than the hips and should aim to sit relatively close to shoulder width apart.
Lifting Aids – Lifting straps can be deployed to ensure grip strength is not a limiting factor. Lifting belts can also be used here to give feedback regarding abdominal pressure and spinal integrity.
Final Note
These are just some of the considerations that you can use and deploy when going into your sets. Some of these can be the difference between failing a set and achieving an extra 1-2 reps. It’s key to note the equipment shouldn’t be relied upon but should be seen as one of the many tools in the arsenal for a successful lift.
___
If you want to see more information on training intensity, see my latest Instagram posts at @the_biomechanics_coach. Or, if you are interested in exploring other areas of your training and becoming the best athlete you can be, what about reading my last post on Training Intensity.