
Intro to strength curves
Every muscle has what is called a strength curve. A strength curve is often displayed in 3 components which are:
- A lengthened position or commonly known as the stretch
- A mid-range position which is the midpoint of the contraction
- The shortened position which is the end point of the contraction
This helps us to identify the strength of the muscle within a particular movement, depending on the joint angle. The strength curve directly relates to the ability of the muscle to produce force which can be measured in torque (the tendency to cause rotation).

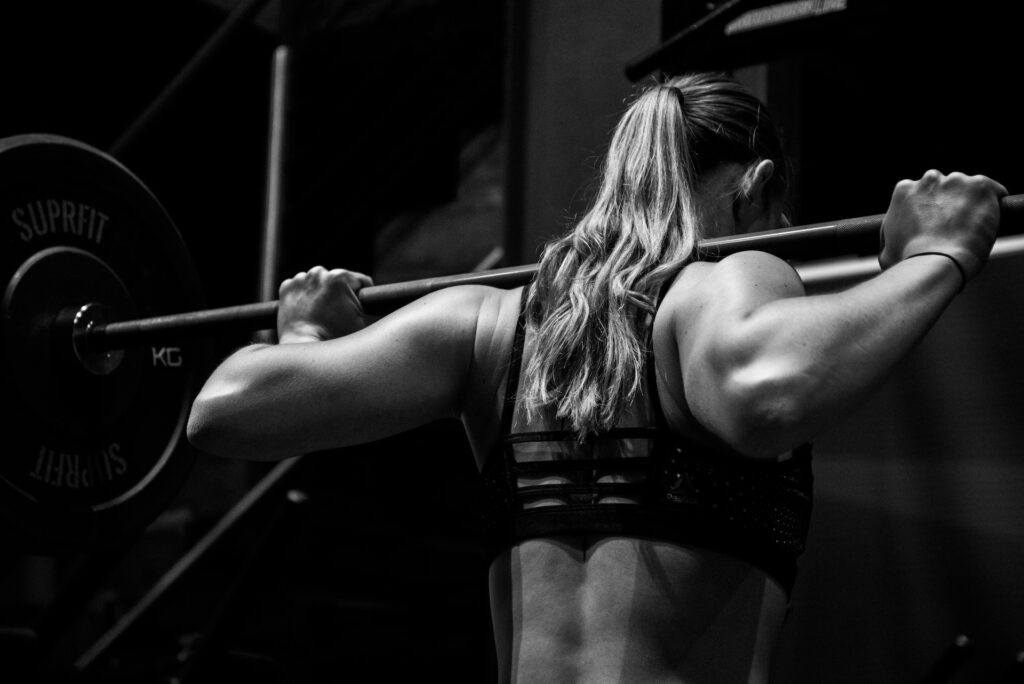
Photo by Arthur Edelmans on Unsplash
Why is the important?
This is important for exercise programming and understanding how certain exercises interact with our anatomy. There are two approaches with current exercise programming when it comes to hypertrophy, when looking through a biomechanics lens.
Method 1: The congruent resistance profile. As mentioned above, your muscle has a strength profile, but every resistance training exercise has what is called a resistance profile. This is force requirement measured in torque within various stages of an exercise which just like a muscles strength curve, can differ as you go through the movement. When the muscles strength profile and the movements resistance profile match, we call this a congruent profile.
A great example of this is the dumbbell bicep curl. The bicep curl has a bell curve strength profile, meaning it goes from weak to strong to weak throughout its full range of motion. This will see the bicep strongest when the elbow is flexed to around 90 degrees or parallel to the floor (when standing upright). As the dumbbell works with gravitational forces, the further the dumbbell travel away from the working joint (the elbow), the higher the torque demand will go. At the start of the rep the dumbbell will sit directly below the elbow and because the line of force (gravity) travels through the working joint, the bicep is under no challenge. At the top of the rep, the dumbbell sits close to the shoulder placing it above but just in front of the elbow meaning there is a torque demand, but not one of significance. When the forearm and humerus (upper arm) sit perpendicular to each other, this is where both the torque demand is highest, but also where the bicep is strongest, making this a congruent movement.
Method 2: The lengthened range bias. Research within the last 6-12 months (as of writing this) has displayed that the lengthened range (stretch) of an exercise is more beneficial than any other part of the range of motion, but there is a twist. So far this has been heavily proven in both untrained and detrained gym goers and in some muscles such as the triceps has actually been proven to be the opposite. The research now displays that muscles grow best within the point during the strength curve that they are strongest.
The lengthened range bias has gone one step further with lengthened range partials, which depending on the exercise can be a good idea for seeking additional volume. The idea here is that once an exercise has exhausted full range of motion, the lifter can still complete partial ranges of motion until complete muscle failure has been hit. This works well with single joint movements such as a leg extension, however, wouldn’t be advisable on something like and RDL due to the differences in loading capacity. Lengthened range bias would therefore involve exercises that have a descending resistance profile, meaning heaviest in the stretch and lighter in the contraction. This fits the research but also has another purpose. As we get further and further into our session, the muscles ability to contract diminishes and weakens, meaning the muscles ability to output force reduces through the range of motion due to the accumulation of fatigue. This may then see you chose movements that target the shortened position (peak contraction) towards the start of the session and then move to movements that target the lengthened position as the workout progresses.
Either way, both have their merit and should be considered. Within my exercise programming, I use a blend of both strategies as neither one is better than the other.

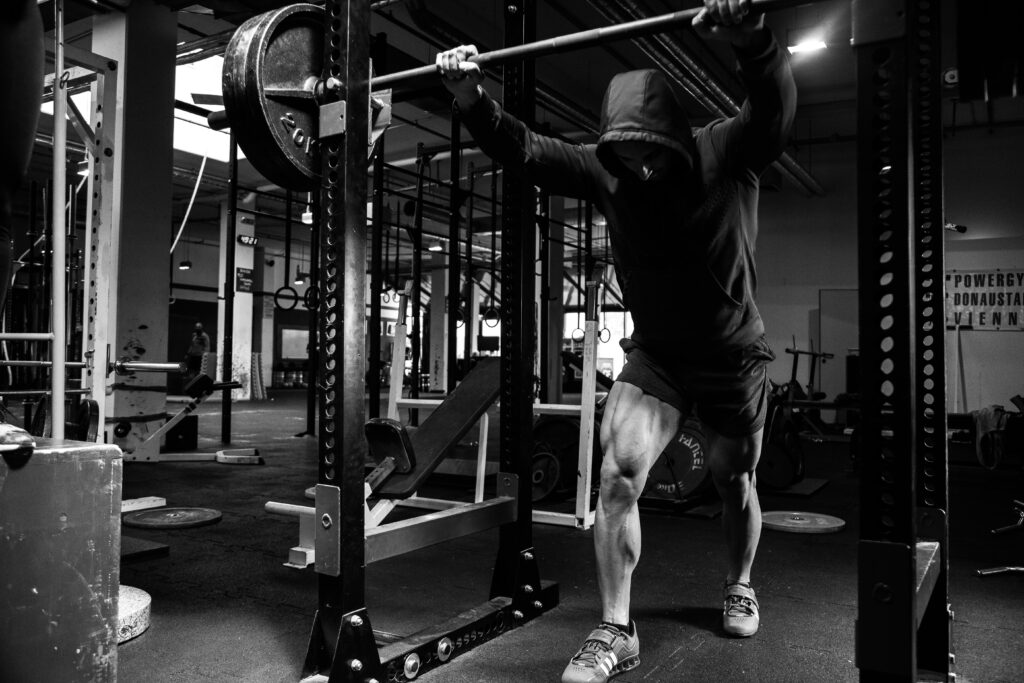
Photo by amol sonar on Unsplash
Major muscle group strength curves
Each muscle has its own unique strength curve that will remain the same across all groups of people. Differences to joint structure and bone length can interfere with how a movements feel, however the muscle, regardless of the person will always have the same curve.
The quads: Reverse bell curve – This means the quads go from strong to weak to strong. The quads are therefore strong in the end ranges and weaker in the mid-range.
The hamstrings: Descending curve – This means the hamstrings are strong in the lengthened position but gradually weaken throughout the movement. The short position is their weakest point.
The pecs: Ascending curve – This means the pecs get gradually stronger as they shorten making them strongest in the peak contraction.
The lats: Descending curve – Similar to the hamstrings, the muscle gets gradually weaker as the movement progresses.
The biceps: A bell curve – this means the biceps start weak, then get stronger and finally weaken again. They are at peak strength when perpendicular to the humerus.
The triceps: Ascending curve – just like the pecs, the triceps start weak and get stronger throughout the range of motion.

Photo by Ambitious Studio* – Rick Barrett on Unsplash
What impacts a strength curve?
Bone lengths/proportions: Different bone lengths/proportions can make a movement go from feeling perfect for one individual to awful for the next person. Someone with a long femur (thigh bone) in relation to their tibia (shin bone) would have to lean forward and experience less quad and more glutes stretch in order to reach parallel whereas a short femur and longer tibia would have no problem staying upright, which would provide more stimulus to the quads
Joint structures: Although strength curves of a muscle are important to look at, they ultimately attach to a joint which is what is pulled upon to cause the movement. The person as a unit get stronger as all working joints stack. As an example, in the bottom of a squat, all joints are out of alignment whereas at the top they are all stacked. This means we are anatomically strong even though our muscles may not follow the same profile. There are 5 categories that influence strength curves:
- Single joint single muscle small ROM: starts strong and gets progressively weaker
- Single joint single muscle large ROM: start and finish point is weak with peak strength in the mid-range
- Single joint multiple muscle movement: start and finish point is weak with peak strength in the mid-range
- Multi-joint push: Gets stronger throughout the ROM as the joints stack
- Multi-Joint pull: Gets progressively weaker throughout the ROM as the joints move away from a stack position
Conclusion
Ultimately this will not make the underlying difference in transforming a physique, however implementing this will allow you to experience movements that feel fluid and effective for the muscle. This doesn’t mean you should avoid certain exercises because it doesn’t fit a strength curve, but it does mean you can understand why they may not progress as well as other movements that possibly fit the strength curve better.
–
If you want to see more information on training and nutrition, see my latest Instagram posts at @the_biomechanics_coach. Or, if you are interested in exploring other areas of your training and becoming the best athlete you can be, what about reading my last post on Machines vs Free weights .